")
Adding a specific category to a webpage
With Sauecommerce you can add your entire store, individual products, or product categories to any existing website or blog. In this article, we describe how to add a specific category to sites built on different platforms and sitebuilders.
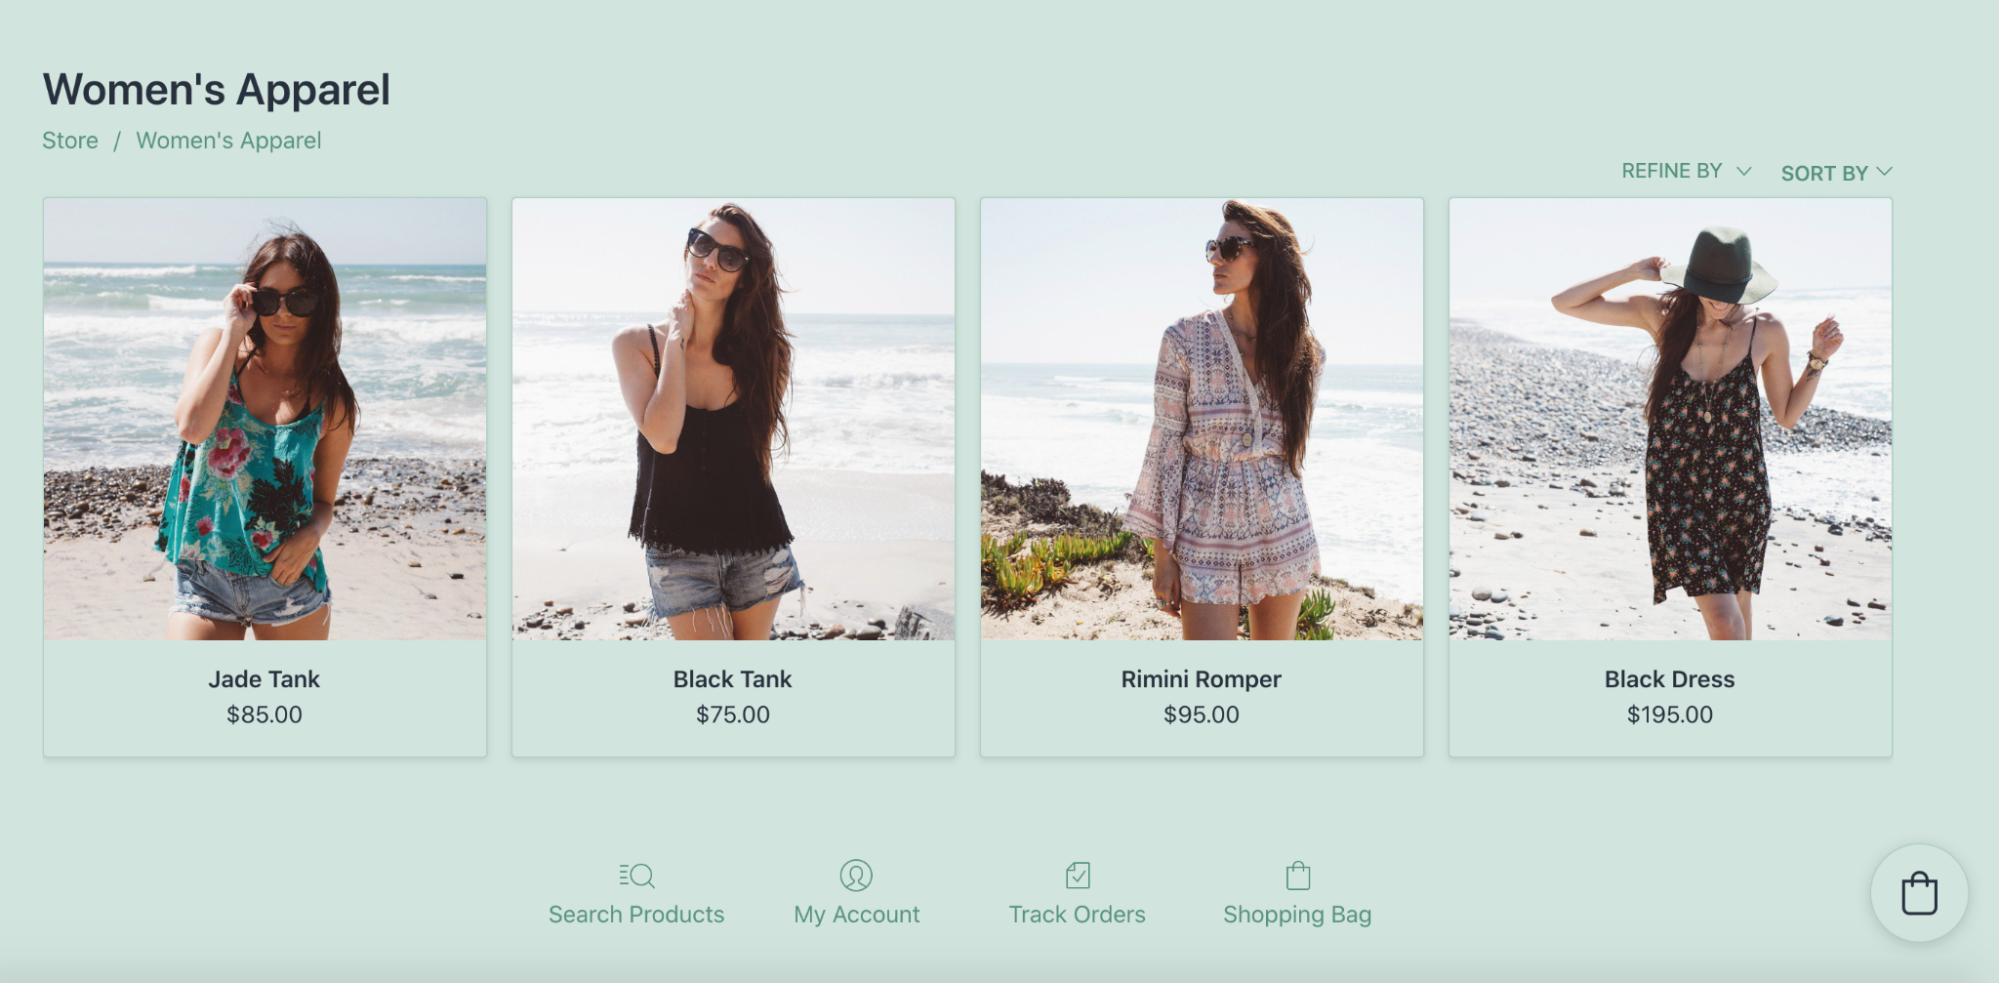
Categories are groups of products that you create based on some property (for instance, new arrivals). You can add a specific Sauecommerce store category to a page on your site. This way, customers who open the webpage will see this category, already unfolded, with all its products.
You may want to display a certain category to show a specific set of items to new visitors right away. You can also use this approach to add different categories to different site pages — or even to different sites.
If you are currently using Instant Site for your store, the following steps do not apply.
Table of contents
Category settings
After you add products to your category (this can be a root category, or a subcategory), you can additionally set it up before adding to a website:
- Add product-specific shipping rates for products in this category (if necessary).
- Hide breadcrumbs — this can be useful if you’re going to add different categories to different websites and don’t want customers to navigate between them.
- Highlight breadcrumbs — this can be useful if you’re going to add different categories to different pages on the same website and would like customers to navigate between them more actively.
- Hide some of your store categories so that customers don’t browse into them.
- Customize how products will look on the category page (image size and aspect ratio, which product details are displayed, etc.) so that they fit into your website design. For that, go to the Design page in your Sauecommerce admin.Changes made on the Design page affect all your store categories.
- Disable Sauecommerce search box — our search widget searches all the products in your store. If you’re going to add different categories to different websites and don't want products from other categories to appear during site searches, you can remove the search option from storefront.
Adding a specific category to a WordPress site
If your Sauecommerce store is added to WordPress, then you can choose which category to display on a certain site page in the WordPress admin panel.
To add a certain category to a site page:
- In the WordPress admin panel, navigate to Pages.
- Find the page where you have your Sauecommerce store and open it (by default, this page is called Store).
- Click on the block with the store. You will see a side menu on the right. Go to the Block tab.
- In the Store Front Page dropdown, select Featured category and choose the category that you want to display on this page:

- Click Update to save the changes.
That’s it! Now the category that you’ve chosen is displayed on your site page, and customers can see all the products that are in this category right away.
Adding a specific category to a Wix site
If your Sauecommerce store is added to Wix, then you can choose which category to display on the store page in the Wix website editor.
To add a certain category to a site page:
- In the Wix website editor, open the page where your Sauecommerce online store is added.
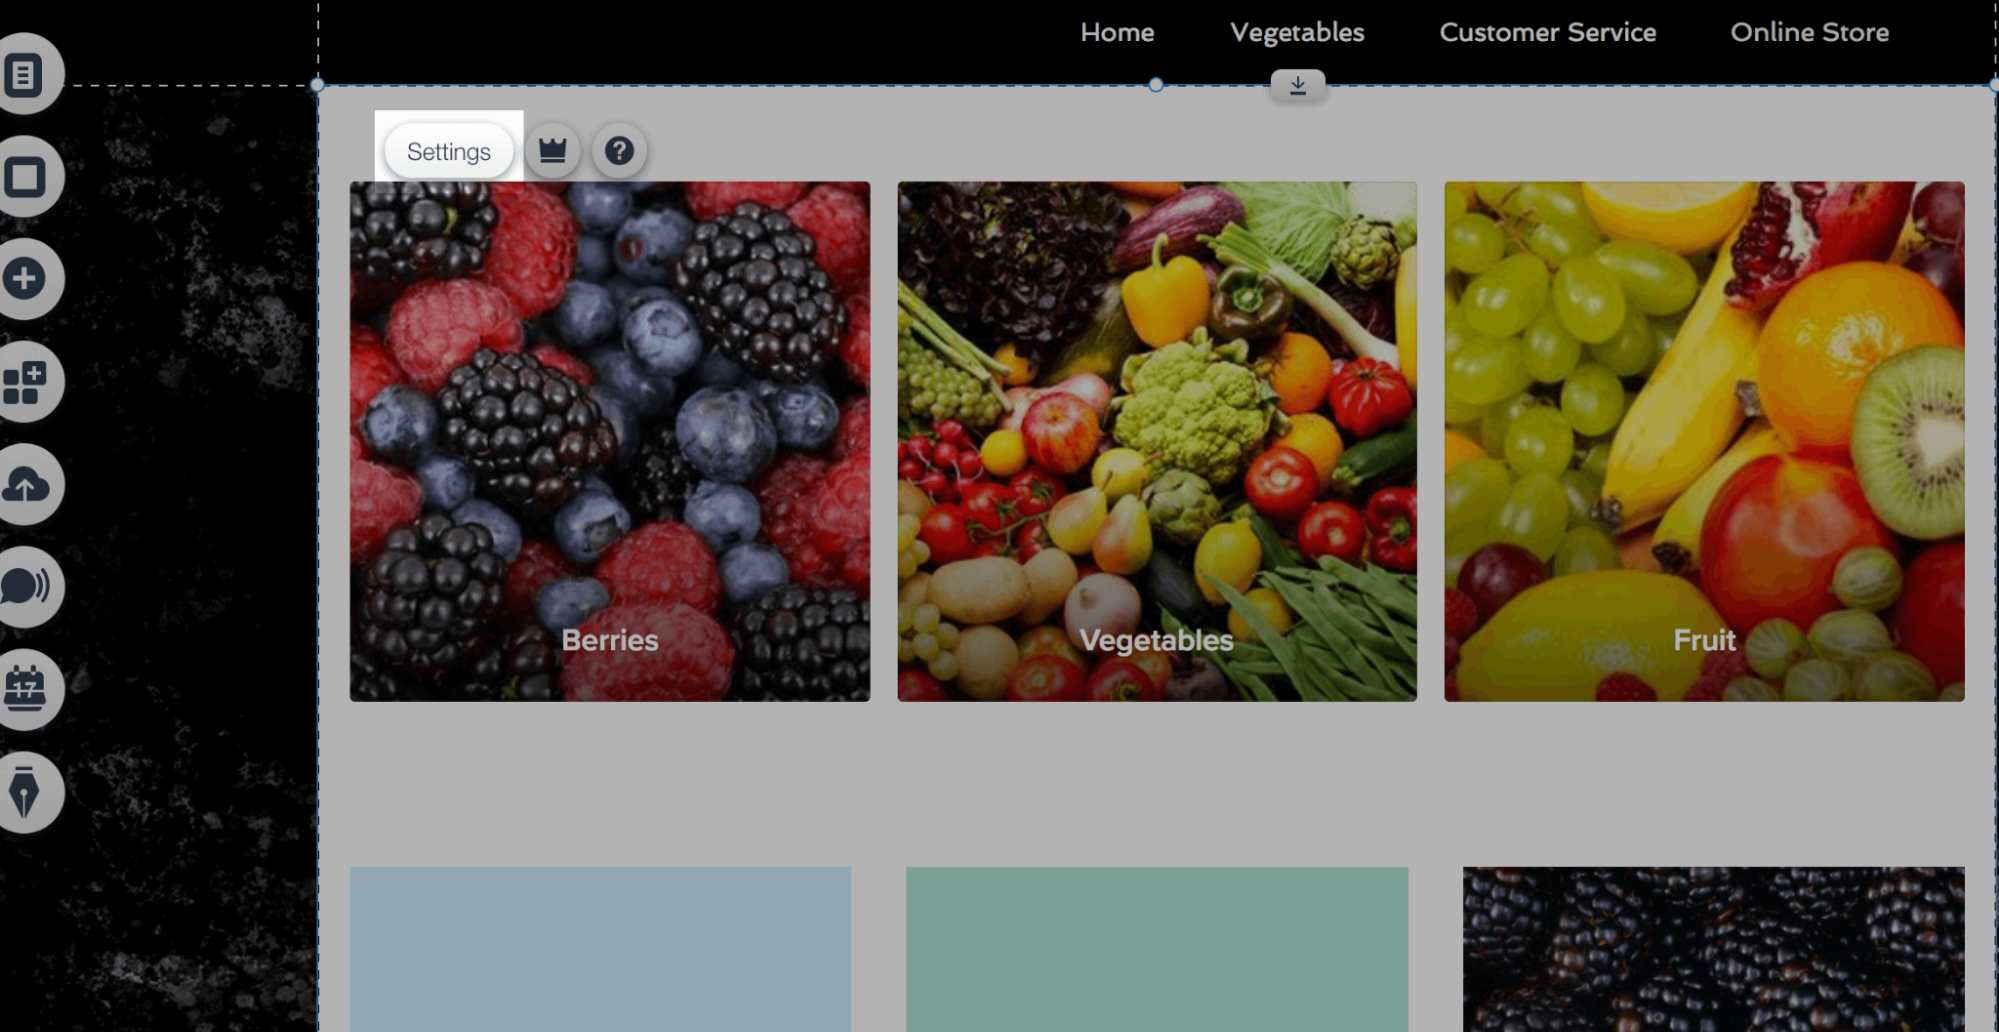
- Click on the store area.
- Click Settings:
- Switch to Settings.
- Click the Choose the default category dropdown under Display Options:
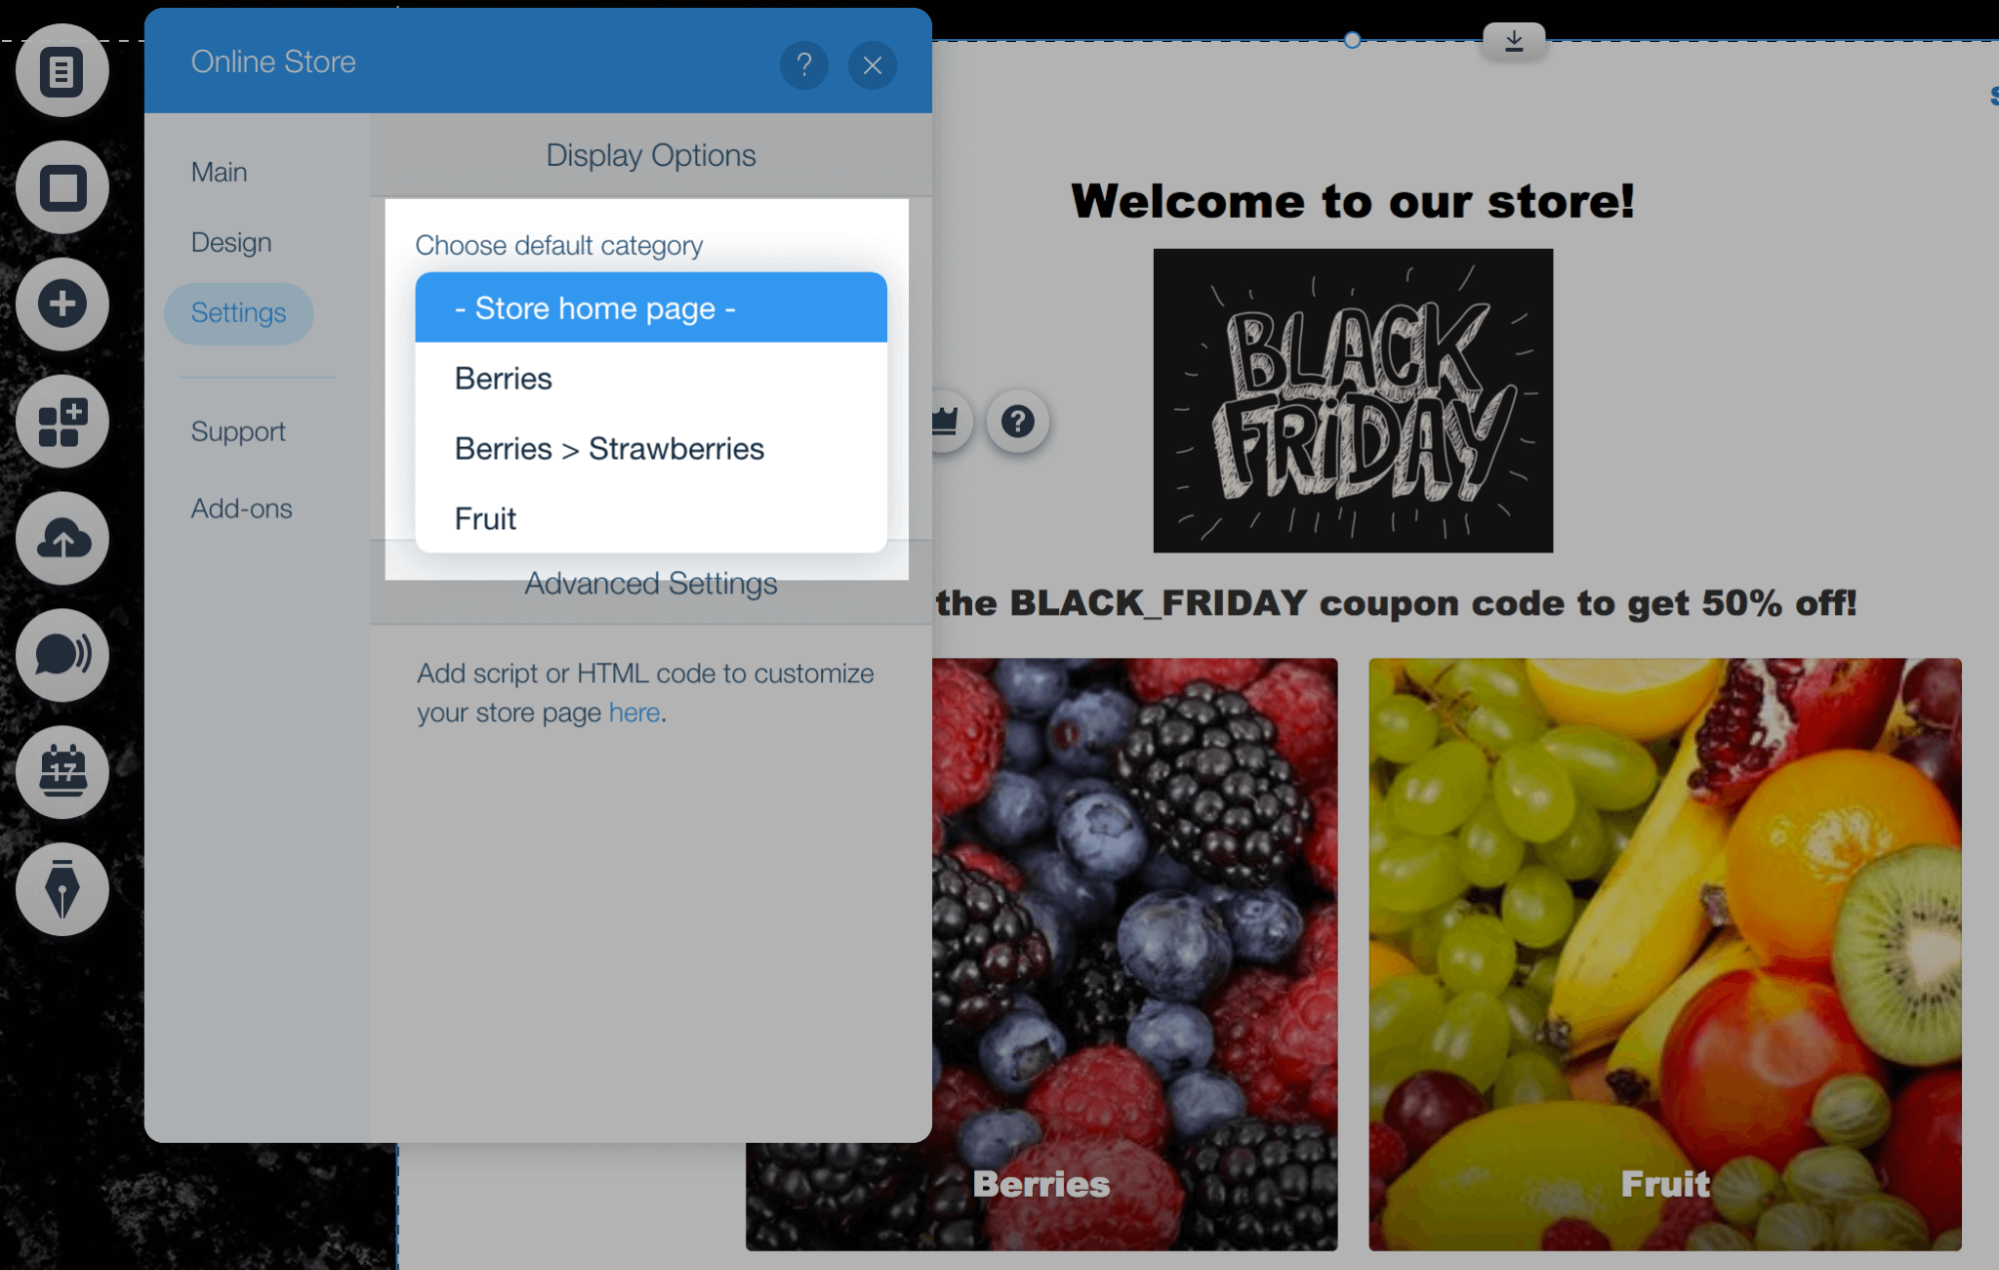
- Choose the category you want to show.
- Click Save.
That’s it! Now the category that you’ve chosen is displayed on your store page, and customers can see all the products that are in this category right away.
Adding a specific category to a Joomla site
If your Sauecommerce store is added to Joomla via Sauecommerce extension, then you can choose which category to display on a certain site page in the Joomla Control Panel.
To add a certain category to a site page:
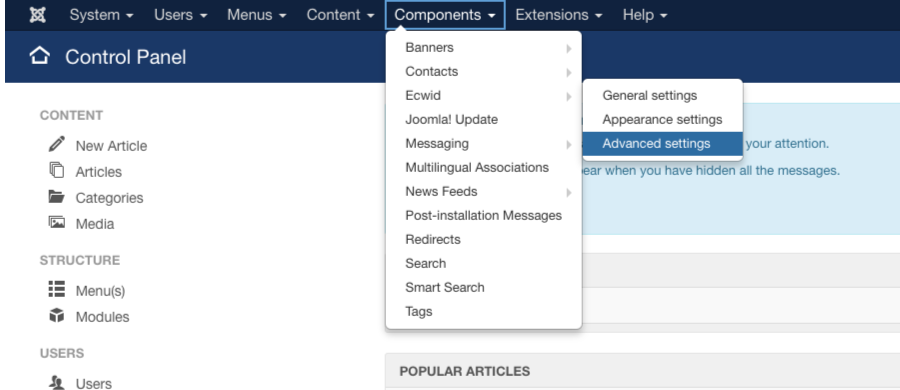
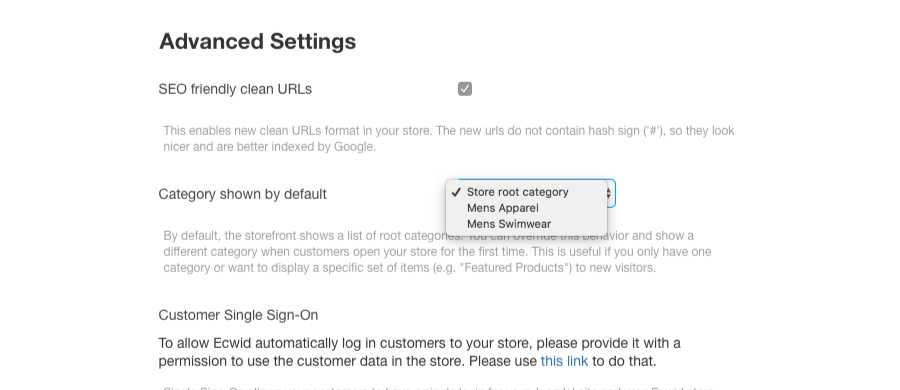
- In Joomla Control Panel, navigate to Components → Sauecommerce→ Advanced settings:
- In the Category shown by default drop-down select the category that you want to display:
- Click Save.
That’s it! Now the category that you’ve chosen is displayed on your site page, and customers can see all the products that are in this category right away.
In case Sauecommerce is installed on several pages of your Joomla website, you can select a different default category for each of the pages.
- Navigate to Menus.
- Open the page where Sauecommerce is installed in edit mode.
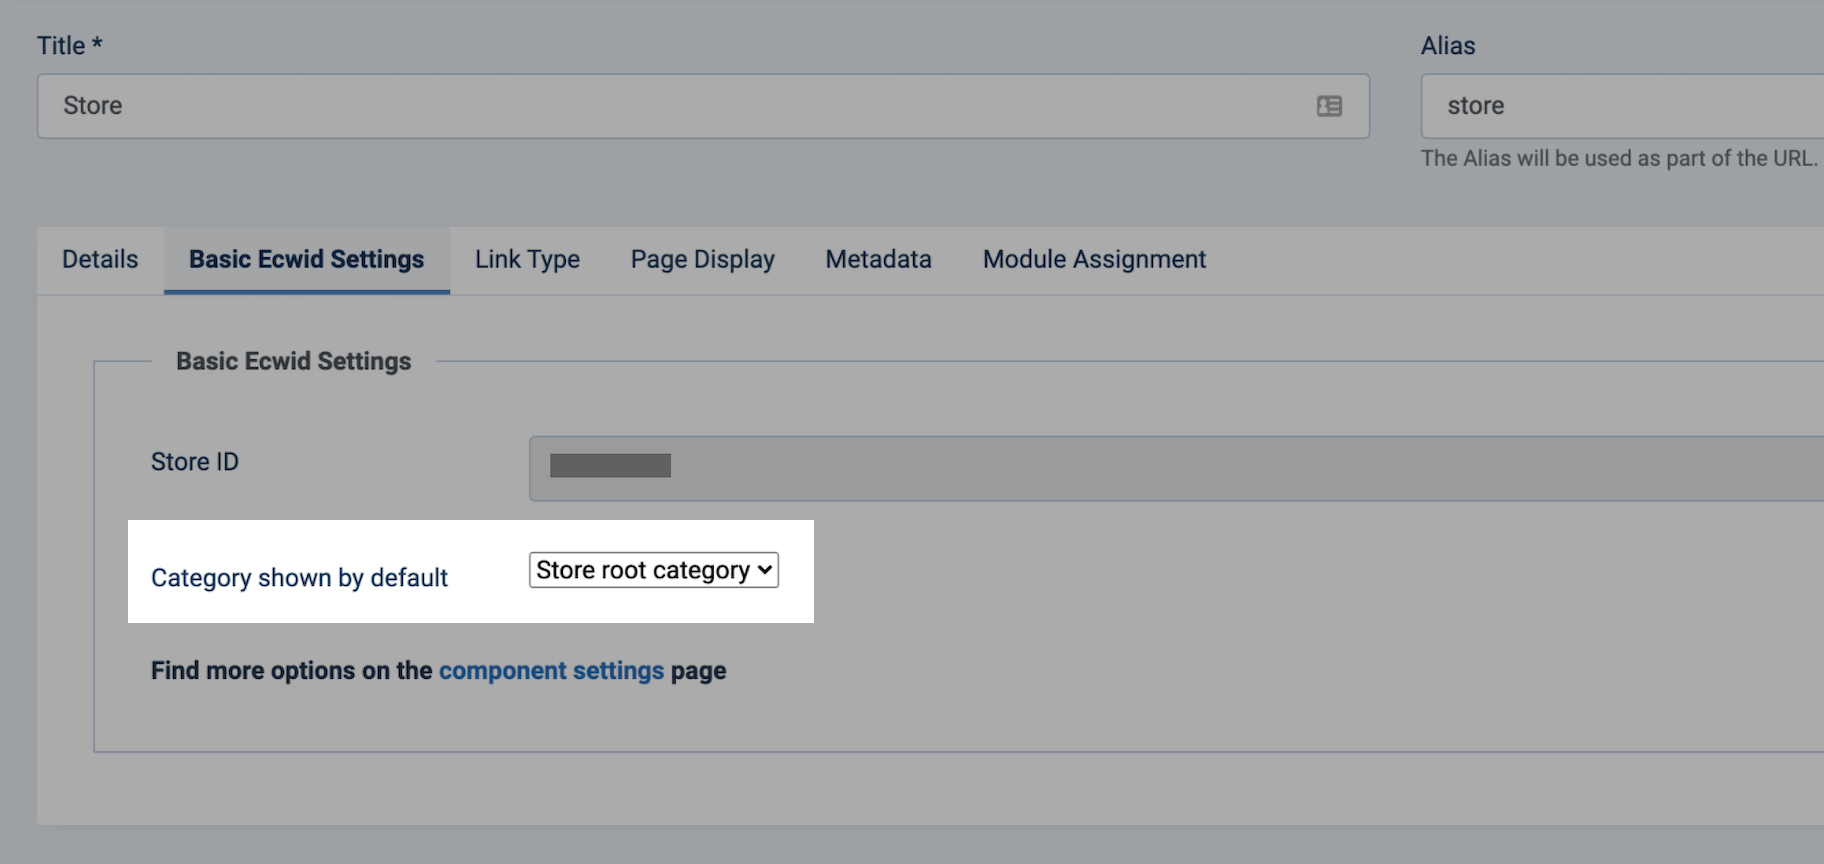
- Switch to the Basic Sauecommerce settings tab.
- From the Category shown by default dropdown choose the category to open on this page:
- Click Save.
- Repeat the steps for each page where Sauecommerce is installed.
If you add your Sauecommerce store to Joomla via integration code, you can feature a certain category on a site page by modifying the code.
Adding a specific category to a custom site
In case you use integration code to add your Sauecomerce store to your website, you can tweak the code a bit to show products of a certain category instead of the entire catalog on a site page. For this, you need to include a special defaultCategoryId parameter and specify the ID of that category in the integration code.
Here is Sauecommerce integration code where this extra parameter is added — the STOREID and CATEGORYID in the code should be replaced with your store ID and ID of the necessary category:
<div id="my-store-STOREID"></div>
<div><script data-cfasync="false" type="text/javascript" src="https://app.sauecommerce.com/script.js?STOREID&data_platform=code" charset="utf-8"></script><script type="text/javascript"> xProductBrowser("id=my-store-STOREID", "defaultCategoryId=CATEGORYID");</script></div>
To add a certain category to a site page, follow these steps:
- Copy the above example code.
- Replace STOREID in the code with your store ID. You can copy it from the bottom of your Sauecommerce Dashboard.
- Replace CATEGORYID in the code with the ID of the category that you want to add to a site page.
- Add the resulting code to the source code of your site page, save the changes and check the result.
That’s it! Now the category that you’ve specified in the code is displayed on your site page, and customers can see all the products that are in this category right away.
Repeat the above steps for other categories to add them to different site pages (or to different sites).